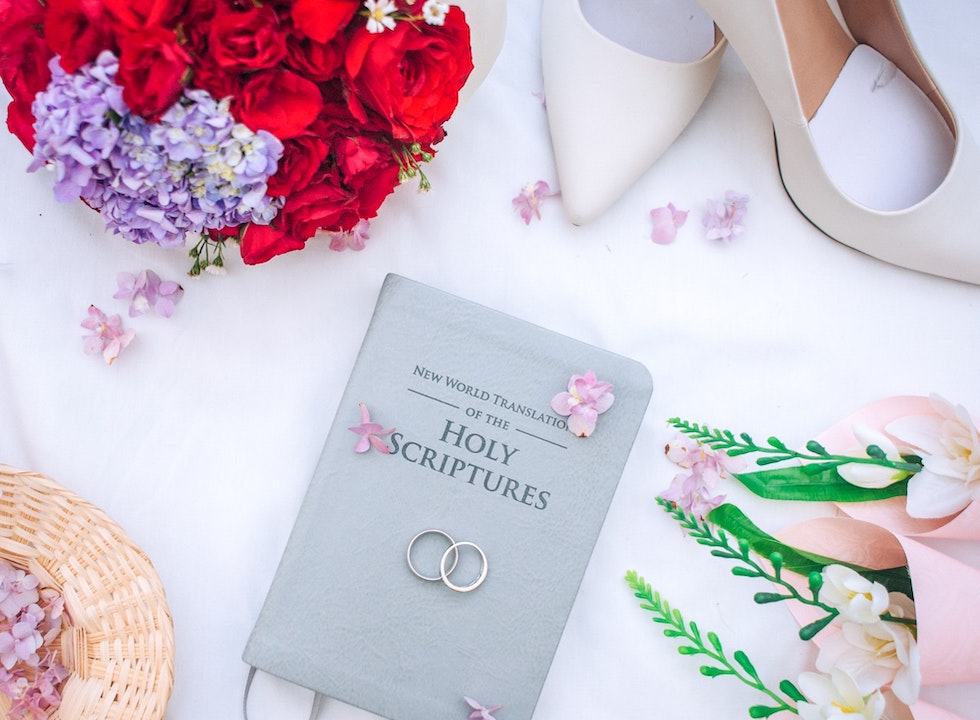
If you are running an online fashion business, you would probably understand it is all about visuals, delivering your products in the best way so that it would captivate the buyer's attention. One of the ways to show your apparels is through ghost mannequin photography.
So, why use ghost or invisible mannequin?
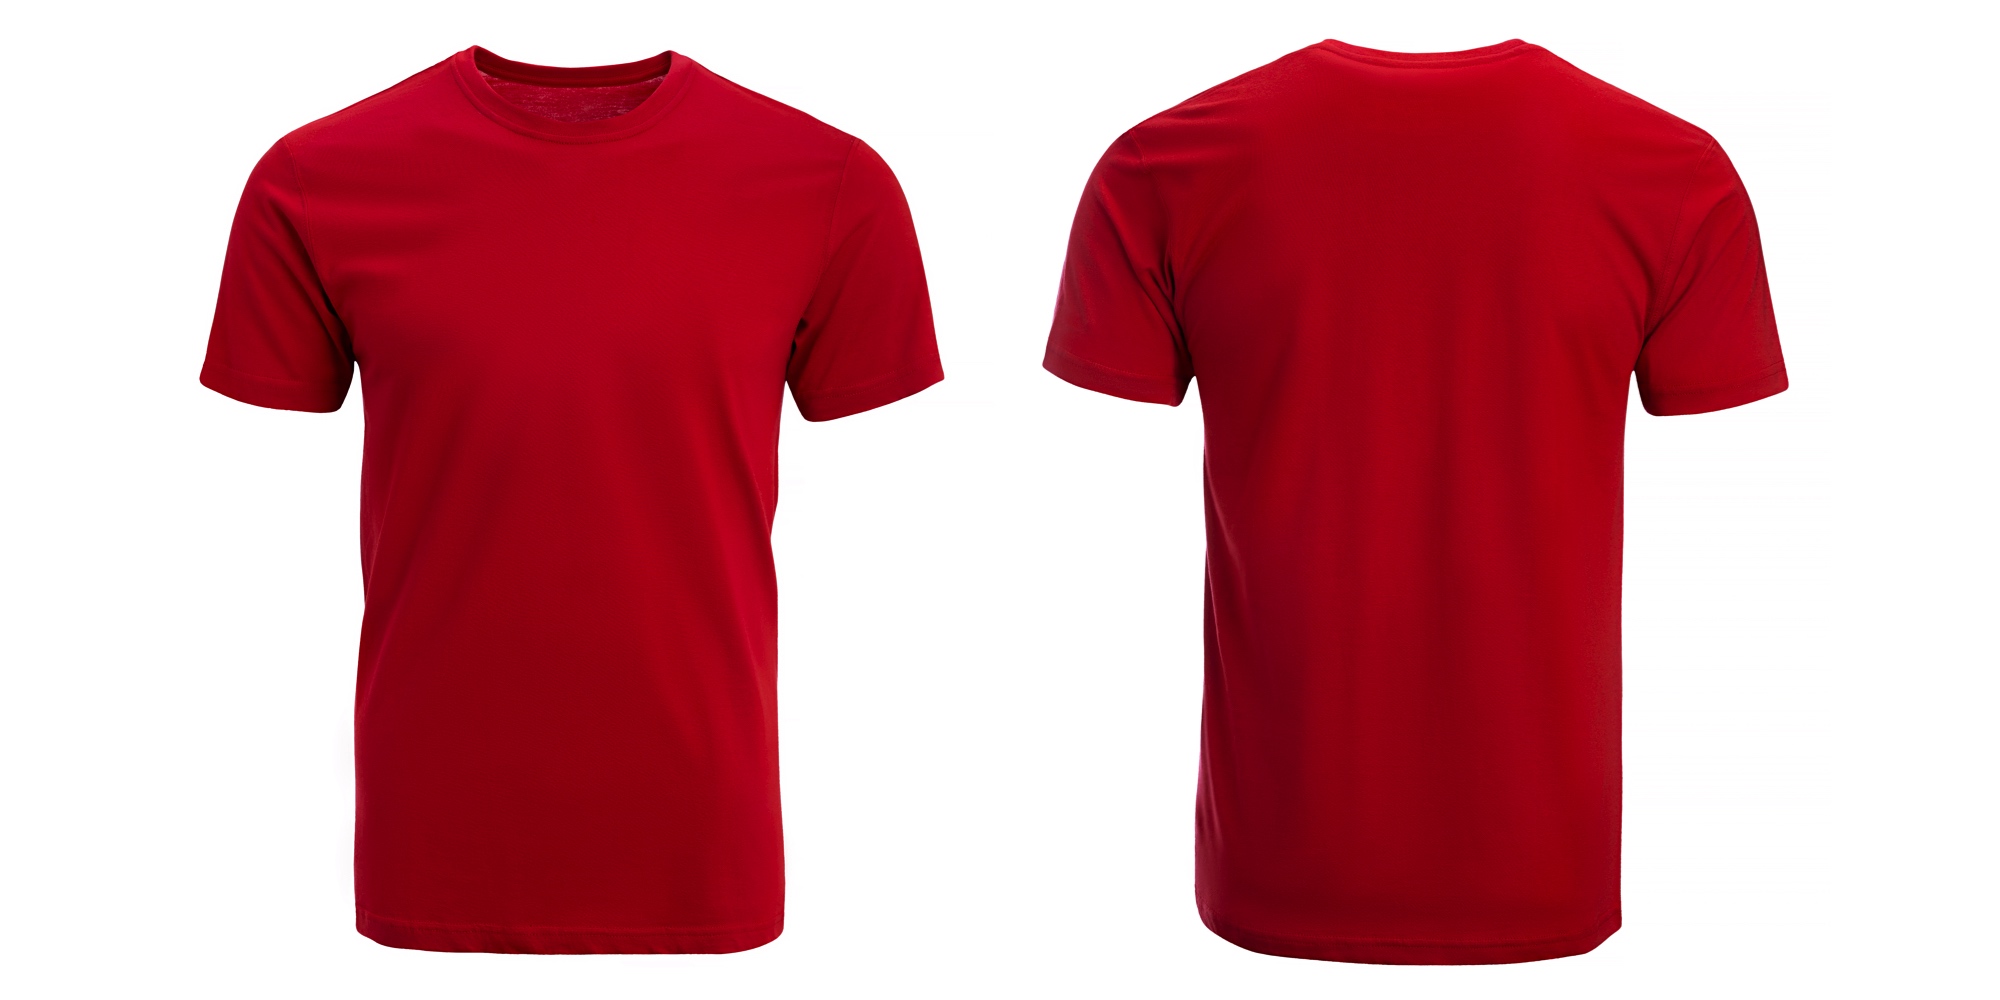
First, ghost mannequin gives a 3D visual of how an apparel look like. It helps the buyers to visualise of how the real product is with its depth, a clearer picture of how the fabric or fit would turn out if it is worn on the body.
It also gives a consistent view of the products as you display them on your website, constitutes to a better branding perception.
Anddd, using ghost mannequins is an alternative to save cost and styling time, save in terms of hiring models for the photoshoot. Using models, it may take some time to work and create chemistry with the models on how the poses should look like and to better align with the brand image. While using invisible mannequins take simple and quick steps in styling - just style, shoot and edit.
Read on to find out the top tips about ghost or invisible mannequin photography.
1 | Choose the right mannequin
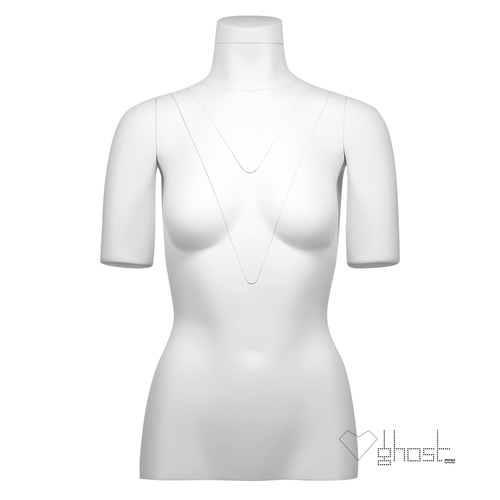
There are different types of mannequin. It is advisable to pick a removable invisible mannequin. This type of mannequin allows you to remove irrelevant pieces which help to reduce editing time ultimately. Depending on your needs, whether you need it half-body, full body, with arms or without arms. Get the size of the mannequin that best fit your garments. Also, get a matte mannequin to reduce incoming light reflections and to better blend with the white background for editing.
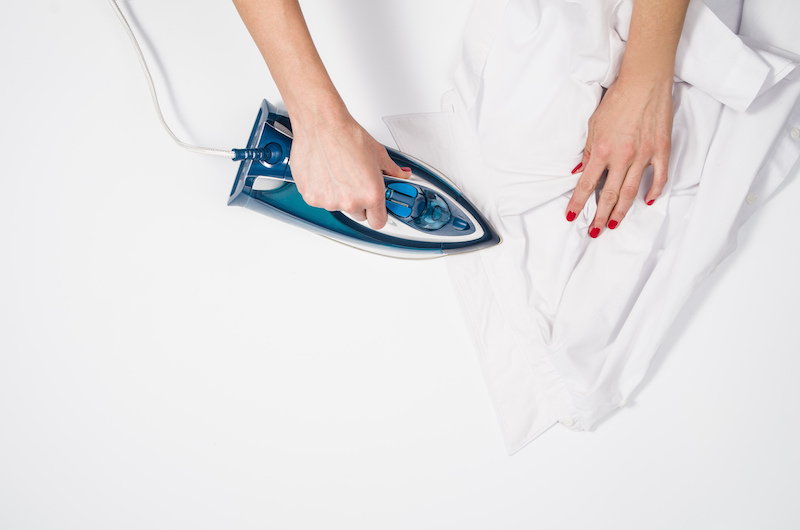
2 | Iron the clothes
Buyers definitely do not want to see crumpled-looking clothes because they are totally not attractive.
3 | Ensure it is crease-free
Even if you have ironed the clothes, as you wear the top over the mannequin, make sure that it is crease-free. Check every part from the neckline, shoulders to the hem.
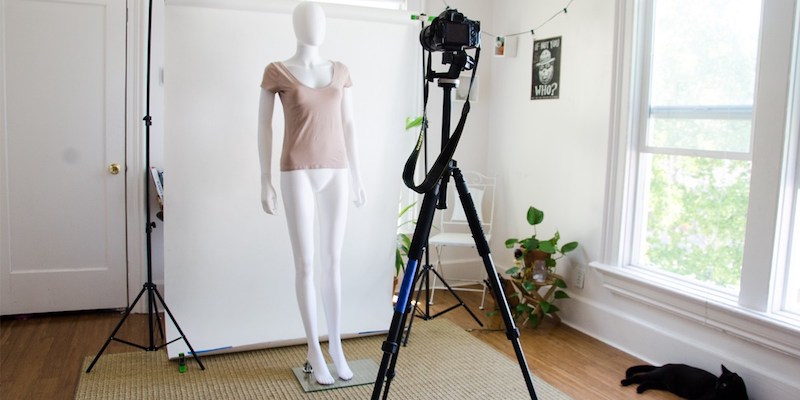
4 | A tripod is necessary
Use a tripod to have a constant distance when taking all the photos both front and back. Not only the distance but also being constant with the level where the camera is positioning. Position the camera right at the chest level for shirts and the hips area for bottoms to obtain the best shot.
5 | Make use of the clips and pins
It is all about the shape when it comes to styling garments on the mannequin. We all know not all garments would fit the mannequin perfectly. To create magic, use pins and clips, tighten up loose areas or excessive lengths.
6 | Tapes are great to keep garments in place
Another essential tool you need is a tape. Tapes come in handy when the straps of a dress or top keep falling off from the smooth surface of the mannequin or when you want to remain a gap in between the cardigans or jackets.
7 | Make sure all the parts are aligned
Getting the parts aligned in terms of the collar, sleeves and the hem. Make sure that as you rolled up the sleeves, they are levelled at the same height. The drawstrings are parallel and consider if you want it all zipped up or unzipped.
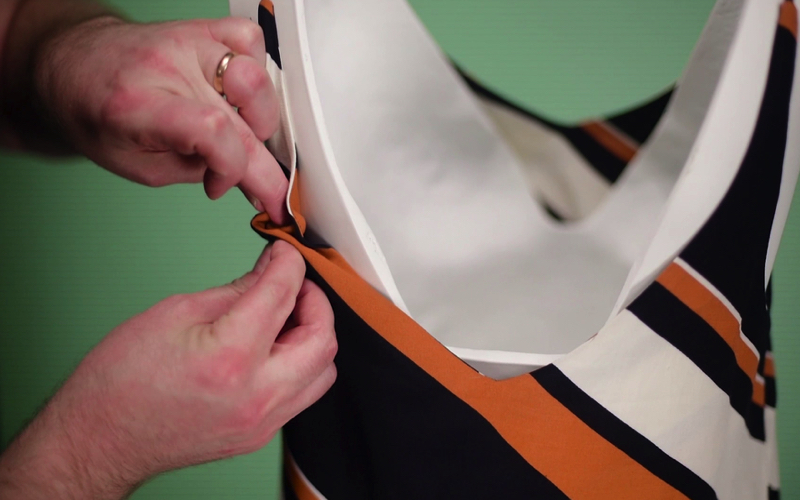
8 | Ensure that certain details of a garment are noticeable right away
As you style your garment, ensure that every detail is shown and displayed so that buyers can notice them right away. For example, the buttons on the sleeves, the inner lining of a top and a hood. So you may fold or angle in a way that can be seen in the photo.
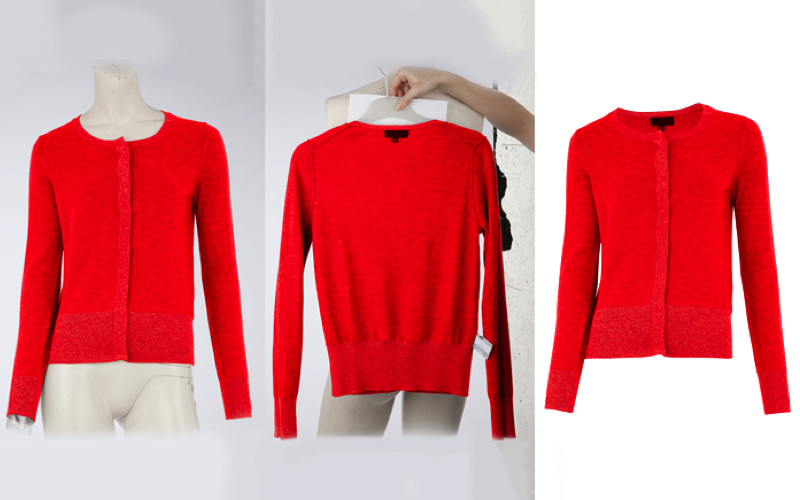
9 | Take an inverted photo of the garment
Once the front and back view of the garment is taken, take an inverted photo. Just turn your mannequin with the back facing the camera, then invert the clothing, place the area usually with the tags and lay them on the mannequin. Just make sure the shoulder area is neat, the bottom lining is not that relevant. This photo is necessary for a neck joint editing later on.
10 | Get the right light exposure and directions
For plain solid colour garments featuring unique texture designs, it is important to get the right light exposure for the detail to stand out. For light-coloured clothing eg, white, beige, use underexposed light. On the other hand, use over-exposed light for dark-coloured clothing like navy blue and black. Play around with the light directions to get the best effect from the photo.
 Posted by Shu Wen
Friday 13 Apr 2018
Posted by Shu Wen
Friday 13 Apr 2018