The Soap Making 101: Cold Process or Melt and Pour
 Posted by Shu Wen
Sunday 23 Dec 2018
Posted by Shu Wen
Sunday 23 Dec 2018
Share
Whether you are in for a bath, need to quickly rinse your hands for lunch or dinner or have come back from a particularly tacky destination (or perhaps, heading to one) a soap is your indispensable partner in every state of affair. You have probably seen thousands of soaps lined up at the bathing accessory section of your everyday mart; but what if you could make your own, custom soap for all your soapy needs of the day? Or if you see the potential of making and selling soap making since the trend for natural skincare is uprising, here is the perfect guide 101 to compare between the two soap making processes.
Soaps are simple chemical compounds made out of a process called Saponification reaction. When long chains of fats are made to react with a chemical base or an alkali such as Sodium Hydroxide (sometimes referred to by its common name: lye), the resultant is a soap, capable of forming micelles that cleanse your skin and clothes on agitation.
Whether you are apprehensive about the consequences of synthetic antibacterial soaps or interested in the subtle aesthetic of soap making; to make your own custom bar of soap with fragrance that pleases you, there are two ways or processes to go by: Cold process and Melt and Pour process.
What is cold process?
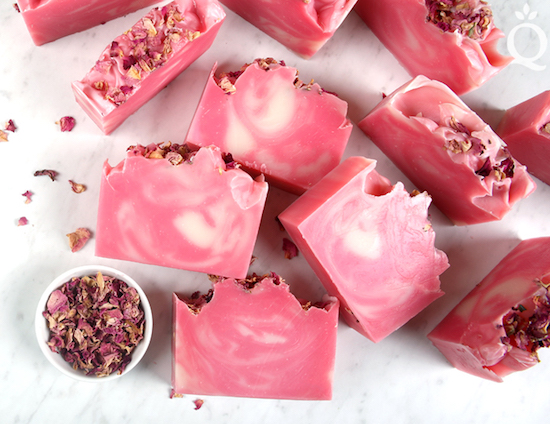
Source: Soap Queen
In the cold process saponification, oils such as those obtained from vegetables (which are saturated in nature) and fruits can be utilised to make soaps. This is the generic way of creating soaps. By cold process, one can customise their soaps to obtain the one they desire using the ingredients they favour. ]
Cold process not only gives the creator/hobbyist the liberty to experiment with the fragrance, colour and texture of the soap, but also gives one the ability to create custom designs on the soap bar thanks to the thick mixture of the batter. Contributing to this thick mixture, one can add ingredients to the surface for added beauty or add herbs for added benefit. You choose your way!
Cold process is popular because the processes and subsequent steps involved are simple, easy, and efficient. This process is so simple that one requires no prior preparation and one can even multitask, going by their day while preparing their favourite, custom bar of soap in the comfort of their homes!
What is melt and pour?
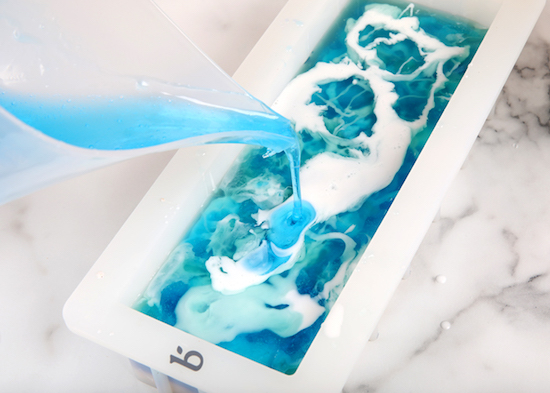
Source: Soap Queen
If creating soap base is not your forte and you are into soap making to just get your hands onto that beautiful custom soap bar you imagined for yourself; melt and pour method of soap making brings you amazing news!
Melt and pour method in making soaps is commonly preferred by most soap making enthusiasts around the world because not only does it not require specialised equipment or long hours of work before you can get your hands on the end product; but still offers you the liberty to choose from your favourite dyes to colour your soap with or the type of fragrance that you would wish for in your custom soap bar (or when you walk out the shower).
Moreover, this method judiciously eliminates the requirement of lye (or sodium hydroxide solution) whilst you create the soap of your choice. This is another upper edge the melt and pour method has over cold process because generally handling lye or sodium hydroxide can be dicey and troublesome; and manhandling lye can and will lead to disastrous consequences. For beginners entering the soap making business, melt and pour method can be favoured. Melt and pour method comes at the cost of a little customisation but offers the benefit of not having to handle so many caustic elements involved in cold process; and saves you the time.
What is the difference between cold process and melt and pour?
If you are a soap making enthusiast who is willing to create soap right from the scratch (including soap base) then cold process of soap making is the one for you. Cold process soap making gives you more room for customisation of your very own custom soap bar, ab-initio. This means that while making soap through the cold process you will get to decide the fragrance, the base and the colour of your custom soap bar.
One key difference that arises in the preparation methods of melt and pour and cold process is the lack of requirement of lye or sodium hydroxide in melt and pour method that makes it a lot safer and easier, thereby reducing effort on your part.
In addition, cold process requires a wee more energy and can be time consuming.
Tips for cold process and how to make them
While employing the simple, easy to understand method of preparing soaps by the cold process, one should keep the following pointers in their minds:
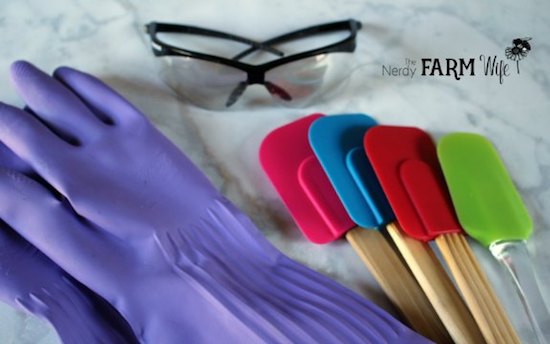
Source: The Nerdy Farm Wife
1. Keep all the materials you require at your disposal. This will include essential items that you will require including borosil or glass bowls, glass jars, soap moulds, a china dish, spatulas and spoons... and you name them. Its never bad to have extra accessories at your reach!
2. Always add lye (sodium hydroxide) to water and never water to lye! Sodium hydroxide is extremely reactive and is likely to cause a violent reaction with water.
3. Use gloves and safety equipment while handling lye. It is recommended to wear safety goggles.
4. Do not use lye in the vicinity of children and/or pets. Lye is caustic and can harm if made improper contact with whilst preparing soap.
5. The process involves fumes that can cause irritation to lungs/agitate those with respiratory disorders or diseases. This should be carried out in a well-ventilated area away from children.
6. Soap-making enthusiasts also tend to keep vinegar nearby to neutralise the area which Sodium Hydroxide or lye has been exposed to.
7. Use dishwashing soap and vinegar to clean up the area where the saponification process has taken place. Clean thoroughly as to remove traces of corrosive lye.
8. Use plenty of water to quickly rinse the containers that have come in contact with the lye or sodium hydroxide solution to prevent corrosion. Use vinegar to rinse them later if necessary.
9. Peppermint, eucalyptus and lavender oils can be used in making the soap.
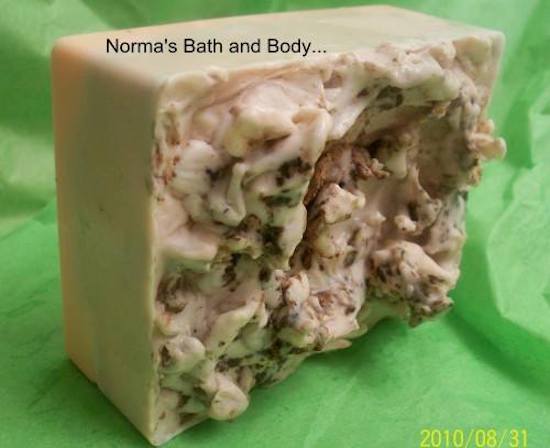
By Normasbath
Tips for melt and pour and how to make them
Melt and pour method for making soaps is the most convenient way to go for soap making enthusiasts. Prepare your jars and ready yourself to put on a show, as the tips will equip you with all you need to know!
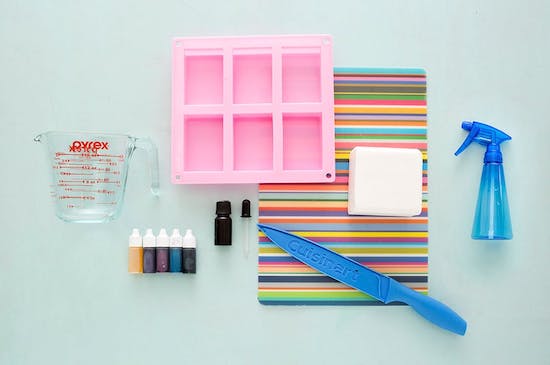
Source: Brit+Co
1. Get yourself a melt and pour soap base from your nearest departmental store. A hobbyist's pick is usually glycerine, olive oil or shea butter.
2. Cut the soap base into the required size(s) of chunks.
3. Melt the soap base chunks acquired in step two. A microwave or a stove may be used.
4. Leave the soap base to cool for about 30-40 minutes. After the base has cooled down, you may add fragrance oils or add dyes if you desire to get the soap in your favourite colour!
5. Take the soap base and pour it into a mould.
6. Allow the mould to cool for about 12-48 hours.
7. Release the soap from the mould and allow the soap to dry if necessary.
8. Extra care should be taken with regard to allergies when using dyes and fragrance oils.
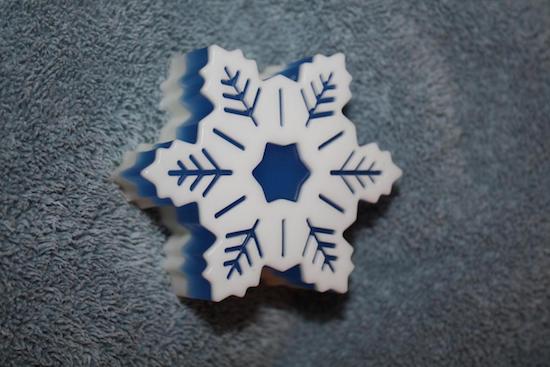
By Suzys Soap
So hope that from here, you will have a big picture of the soap making process that would help to kick start your project! Want more guide? Check out the next article on Useful Seller Tips For Bath and Beauty Handmade Products