What is Punch Needle Embroidery All About?
 Posted by Shu Wen
Monday 24 Dec 2018
Posted by Shu Wen
Monday 24 Dec 2018
Share
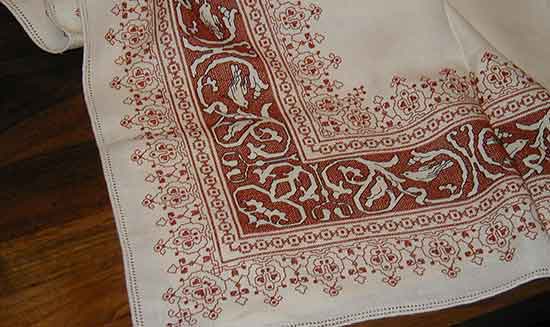
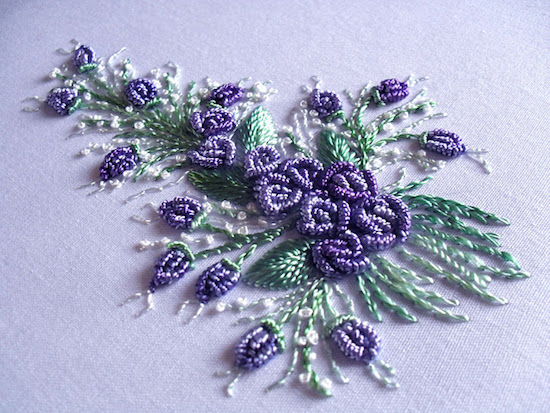
The handloom and the cloth crafting had embroidery since ancient times. It includes intricate design made with the help needle and fine and vivid threaded woven together to create a pattern, mesmerizing the look of the cloth. The type of needle used, the threading pattern or the style of weaving decides the type of embroidery done on the cloth. Embroidery by thread also consists of pearls, yarns, quills, beads or sequins creating a beautiful pattern.
Interested in getting your hands on with embroidery, particularly for punch needle embroidery? Here is the perfect guide for you!

What is Punch Needle Embroidery?
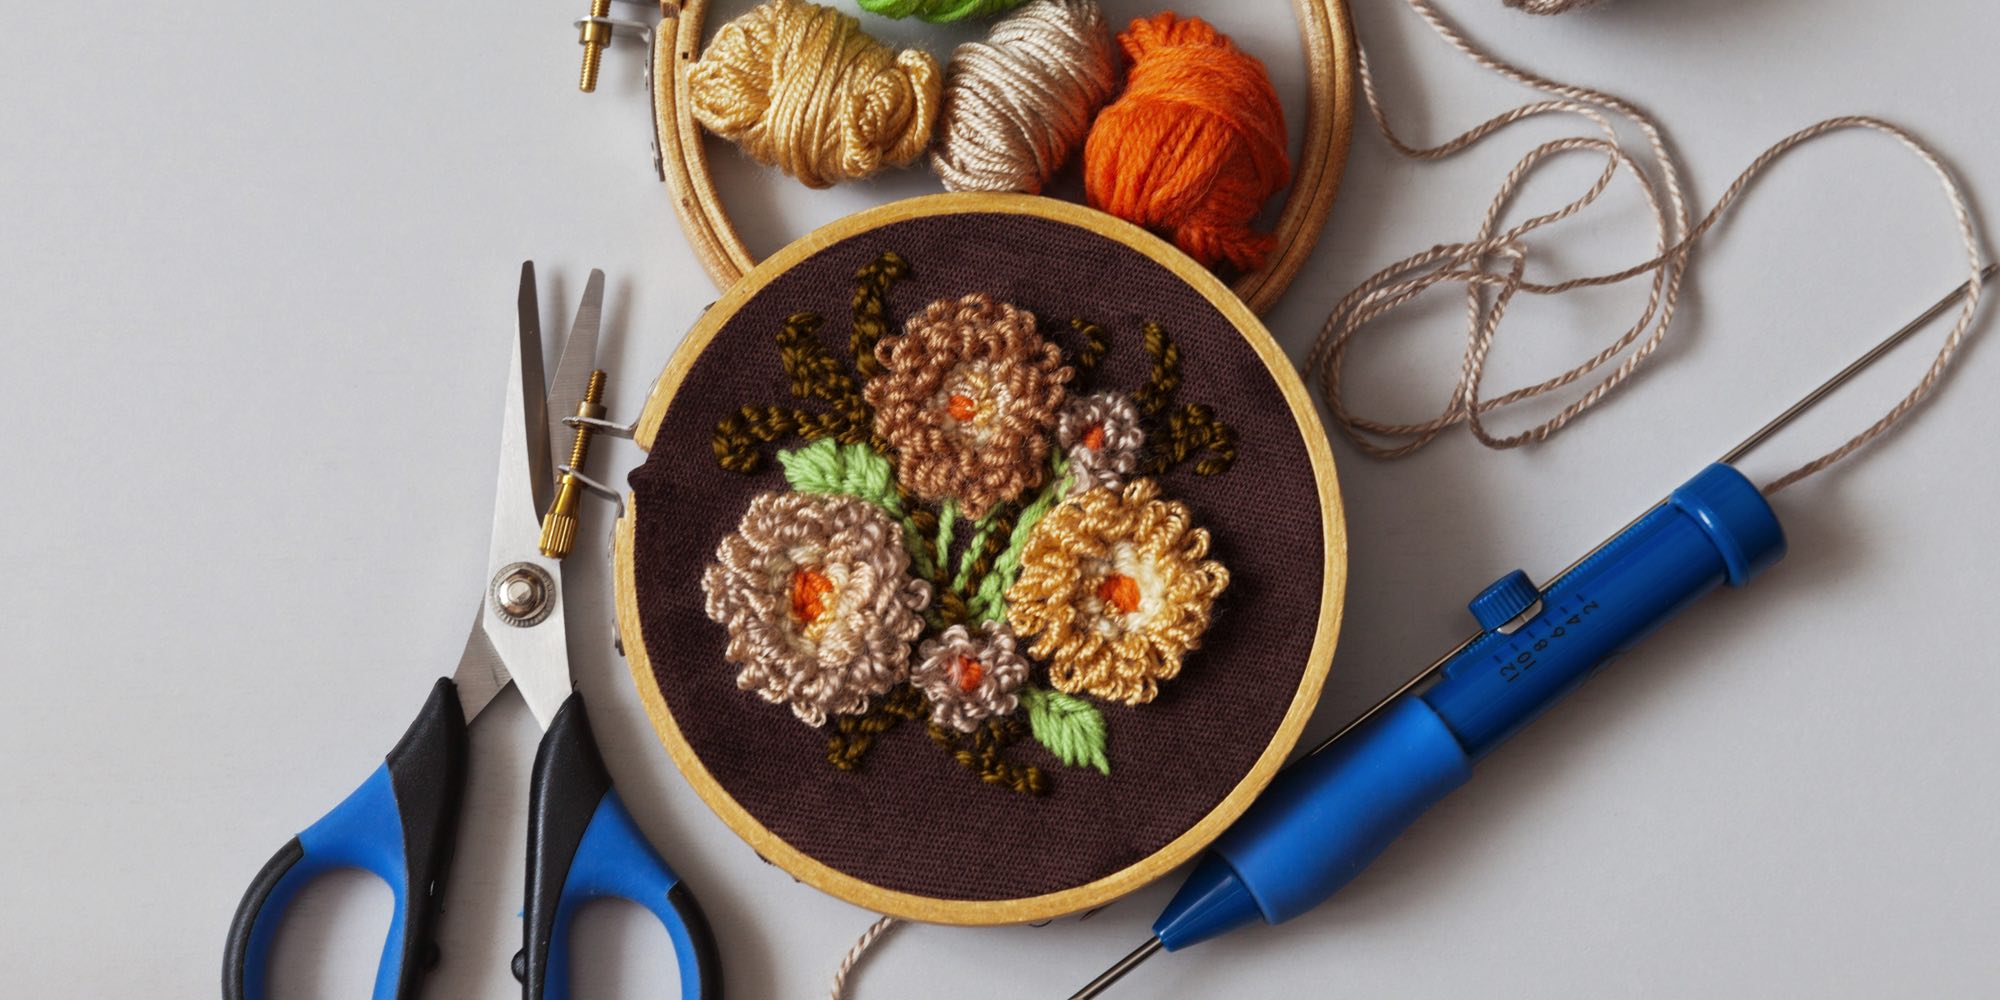
One of the types of embroidery consisting of a punching action on the cloth with the help of punch needle is called punch needle embroidery. The punching or the rhythmic action of work by the needle against the yarn crafts a striking pattern. The punch needle embroidery belongs to a rug hook family (a type in which fabric is woven on a base like linen or burlap. The loops are made by the thread which is pulled through backing material with the help crochet-type hook which mounted at the end to help pull it back). It is also called as painting with the thread. Punch embroidery creates loops formed by rhythmic actions and uses backward embroidery method to create the pattern.
What is the difference between punch needle embroidery with other types of embroidery?
There are various types of embroideries classified on the methodology by which the embroidery is done. It can also be classified depending upon the region from which the pattern and the craft are derived or the pattern so generated or focused on the embroidery. Here only the embroideries which depend or classified according to the method by which the embroidery is done. Various comparisons with crafts are as follows:
a) Assisi embroidery and punching needle embroidery:
Though both the styles are thread weaving type, Assisi consists of even weaving of linen where the background is filled with long cross stitch whereas as the focal or the design so formed is kept empty. Whereas, the punching needle embroidery hone-way punching action.
b) Blackwork:
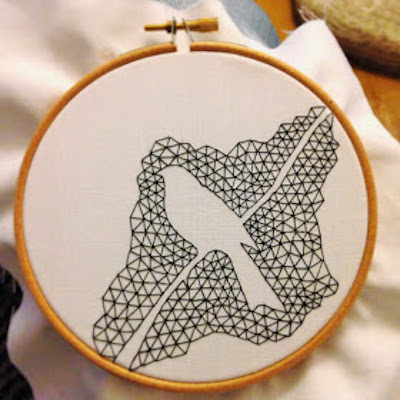
It is a traditional type of embroidery done with the common pattern being flowers and leaves. It has the design running in one direction and the weaving is done from backward, as compared to the forward embroidery done in punch needle embroidery; and the outline of the design is made with the thread while the inner empty spaces are covered with laces. The design often made in the Blackwork is usually geometrical in shape, as compared with any variation or pattern design in punch needle embroidery.
c) Brazilian embroidery:
Brazilian embroidery is a highly intricate pattern creating embroidery wherein the threads are woven to create beautiful floral or floral-related high textured patterns. The thread used in this type has the sheen and are usually rayon embroidery floss, which gives shining designs; as compared with the punch needle where the thread used are woolen or thick threads. There are various knots included in the Brazilian embroidery like French knots, cast-on stitch, drizzle stitch which would facilitate creating floral patterns; against any type of pattern to be created using punching technique.
What are the tools and supplies needed?
Like any other type of the embroidery style; punch needle style requires basic three material of needle, thread and cloth on which the embroidery has to be made.
Fabric: The cloth required is the half blend of the cotton of the polyester. This type of fabric supports the punching action of the needle.
Embroidery loop: Have embroidery loop is required to stretch the cloth on it and make the pattern on the cloth.
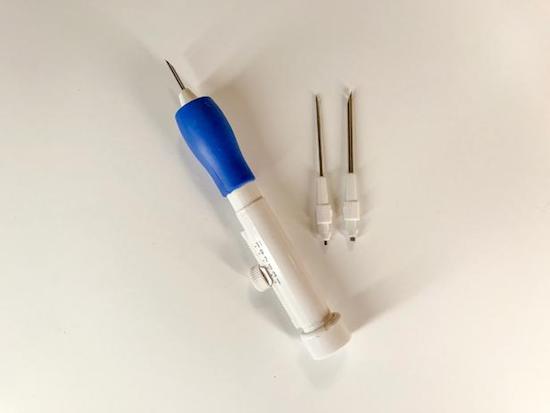
Needle and punch needle tool: The needle required is in various sizes depending upon the fabric and type of designing to be done this from delicate embroidery floss to bulky yarns or ribbons. There is a punch needle containing a hollow shaft and a gauge needle.
Threads or floss: Colorful threads of are to be used to create a beautiful pattern on the cloth. Instead of thread colourful or shining floss can be used for delicate designing on the cloth.
Pen or drawing tools (optional): For beginners to draw the pattern and to follow the design for easy and convenient threading and embroidery.
Steps in making punch needle embroidery (how to punch)
Choose a design: First of all select a design that you want to make on the cloth. The design can range from the natural elements like leaf, flower, animal, bird or any geometrical shape or any design.
Choose a fabric: Select a fabric which is a mixture of cotton and polyester of any colour. There is no restriction on the colour of the fabric to be used for punch needle embroidery.
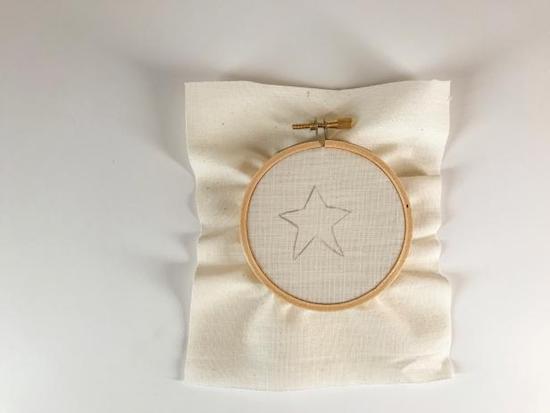
1. Create a base, that is used an embroidery loop circular shape. The loop consists of two separating part and a hook or a pin or a screw. Take one part of the embroidery loop; keep that part of the cloth on which embroidery is to be done. Stretch the cloth so tight, which is just like drum stretched. Now place the other part of the embroidery loop on the other side of the cloth and clamp it with the screw provided to lock both the circular rings of the embroidery loop together.
TIP: While placing the cloth on the embroidery loop, make sure the cloth is kept in such a way that the designs so formed has its distance of minimum 4 inches to the rings. The distance is kept in such a way so as to keep a make design easy and no mistakes could happen due to slippage of the rings, it happens so.
2. Drawing the design (optional): If you are a beginner, then you can use a pencil, pen or marker so as to follow the guidelines of the design to have a convenient way of embroidering the outline can also be made if the design is intricate and requires fine detailing of colours or the design.
3. Threading the punch needle: Once you have done with the preparation, then one can directly take the punch needle and put the thread in it. The needle consists of a hollow shaft, of which one end contains pointed or sharp end called eye, where this end is used for creating and doing the embroidery. And the other end of the needle is used to slide the thread through the needle so that, the thread is removed from the eye side.
4. Starting with the design: Now hold the needle like a pencil in hand and start with the design with the bevel or the eye of the needle doing repetitive action to create the pattern. Make sure while you make rhythmic patterns, there is no disturbance or obstacle for the free movement of the thread.
5. Punch the design: Now while punching, bring the needle back to you but do not bring so cloth than that the thread comes out of the fabric.
6. Completing the pattern: After completing the pattern, let the thread out of the fabric be out by 1.5-2cm and remaining being leftover then the er thread of 1.5-2cm is kept so that the embroidery does not come out and is secured.
By following the above few steps one can easily make the punch needle embroidery. By the regular practice, one can excel in this art.