5 Sweet DIY You Can Make with Flowers
 Posted by Shu Wen
Friday 30 Nov 2018
Posted by Shu Wen
Friday 30 Nov 2018
Share
Flowers are so beautiful and charming to the eyes and smells pleasantly good. Even if it does not last long, however the idea of gifting flower as a gift actually works all the time. So yes, girls love flowers no matter for what occasions.
Why Flowers?
The flowers are beautiful just like your girls and mums. These flowers are gonna imprint beautiful memories and definitely put a smile on their face. Most importantly, they totally deserve them!
But how can we keep them as memories (tangible ones) and yet enjoy the beauty of flowers? Check out these sweet DIY you can make with flowers from fresh to dried ones.
Wanna sell them?
For sellers, this would be a great idea to get flowers that can't sell from florists. Make use of the flowers with these few techniques. These items are great for selling during special occasion like Valentine's Day, Mother's Day, Birthday celebrations and Christmas too!
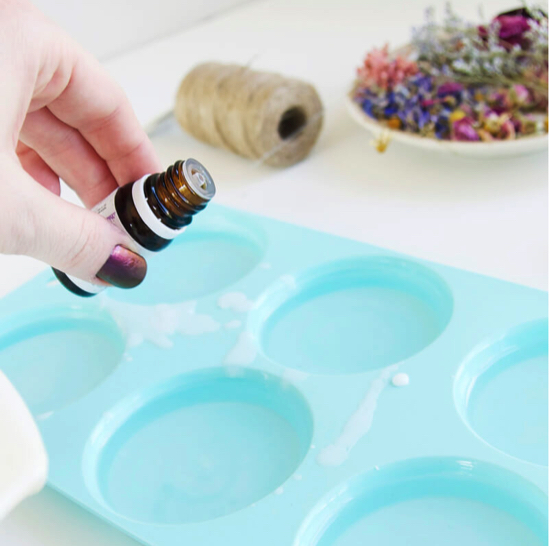
1. Flower Power Scented Wax Sachets
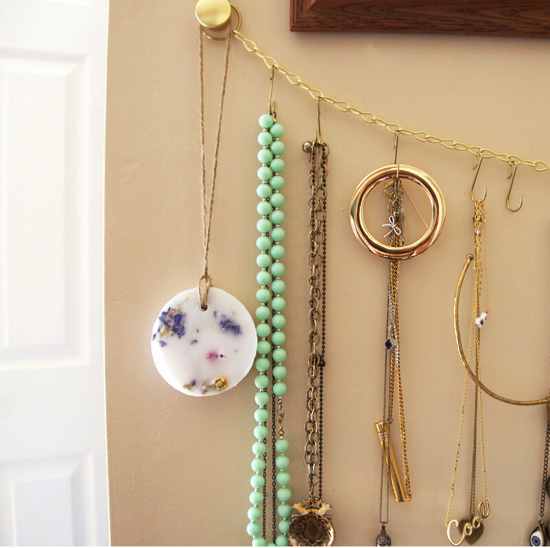
Source: Modcloth
These scented wax sachet is gonna enlighten every girl's mood. The fragrance is gonna be sweet, relaxing and refreshing no matter where you put it, be it in the living room, drawers, hanging it on your hangers in the closet or cars. You can customised and make a variety of smell of your preference as well.
Materials you need:
- Candle wax paraffin (for pillars)
- Silicone mold
- Essential oils or perfumes
- Flowers and herbs
- Twine
- Straw
Steps:
1. First, melt the wax with a double boiler method. Place the wax in a heat-safe bowl on a pot filled with water and boil it. It will take about 30 minutes to melt for every 1-lb of wax.
2. Once the wax has melted, pour them carefully into the moulds to about half full. The mould shown is in circular shape. Feel free to have fun with different shapes of mould.
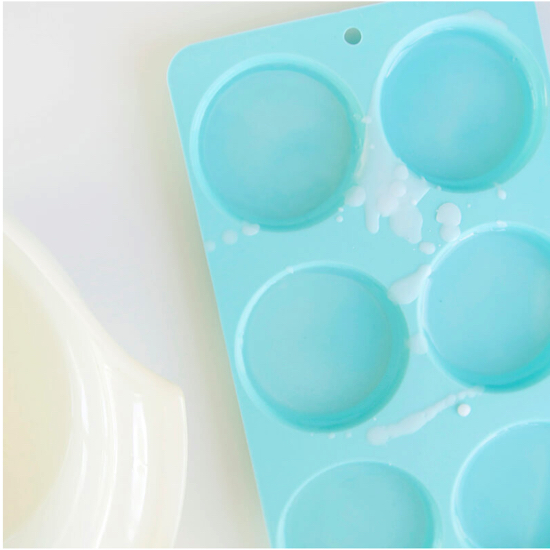
TIPS: Silicone mould is used to ease the process of popping out the wax
3. Ensure your movements are quick with this step before the wax get hardened. Drop a few drops of essential oil into each mould and quickly stir it with a toothpick.
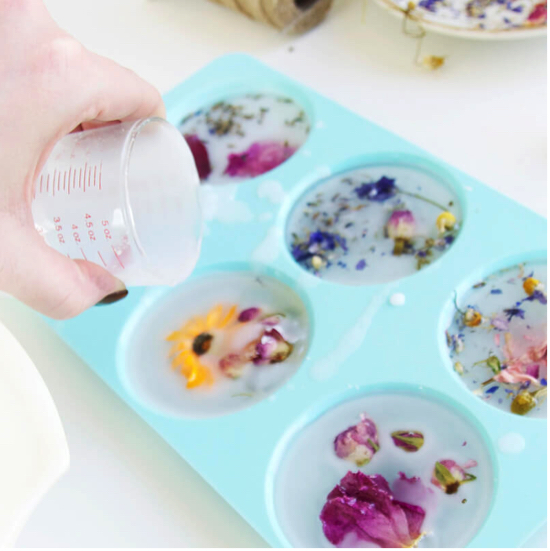
4. Now this step is where all the fun comes in. You can start decorating your wax with beautiful flowers from dried to fresh ones. Herbs to scented flowers. From lavender, rose petals to yellow flowers.

5. Pour in some wax into the moulds to cover up the flowers and yet letting it peek through for some textures and effects.
6. Then let it cool and harden at room temperature for about 30 minutes to 1 hour.
7. Once it is completely dry, pop out your beautiful wax sachets. Then, gently poke through with a straw to create a hole at the centre top.
8. Finally thread into the hole with a string and secure it with a double knot.
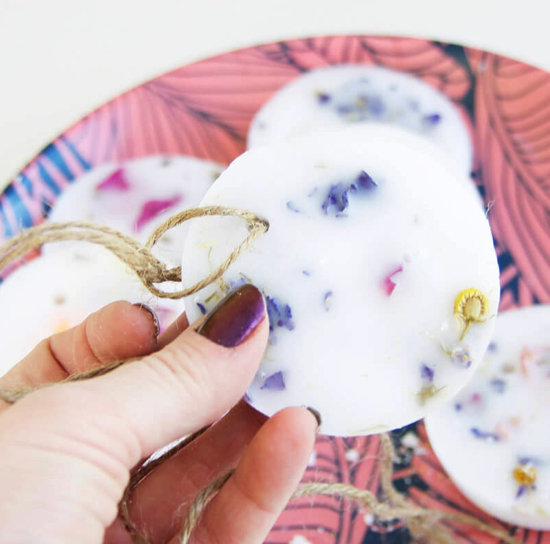
And you can start packaging them for sale or as gifts or hang them at any corner of your house!
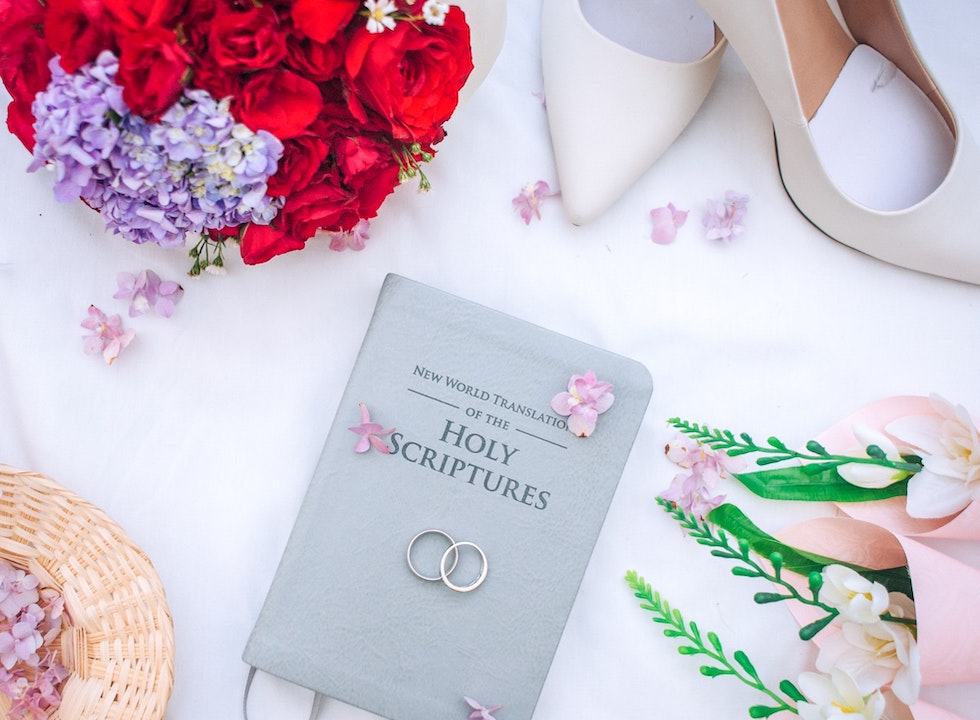
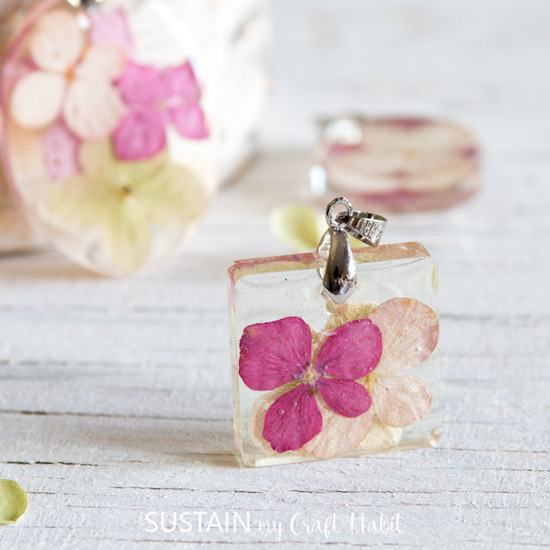
2. Flower Resin Jewelry
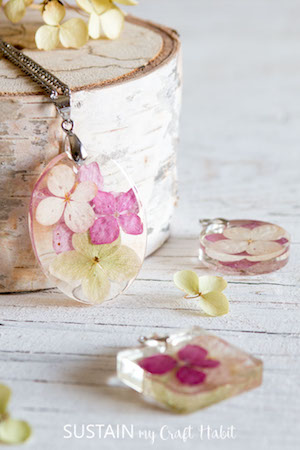
Source: Sustain My Craft Habit
If you love flowers and wish to keep them close to your heart, here is a perfect handmade solution! These flower resin jewelry is absolutely easy to make and requires only little time. You can have fun with different shapes of mould from round, oval, hearts to square.
Materials you need:
- Envirotex Jewelry Resin
- Plastic measuring cups
- Jewelry Molds
- Pressed and dried hydrangea flowers
- Gloves, wooden craft sticks, toothpicks, paper towels, small paint brush, straw
- Pendant bails
Steps:
1. First, check the size of the hydrangea flowers to make sure they can fit into the mould.
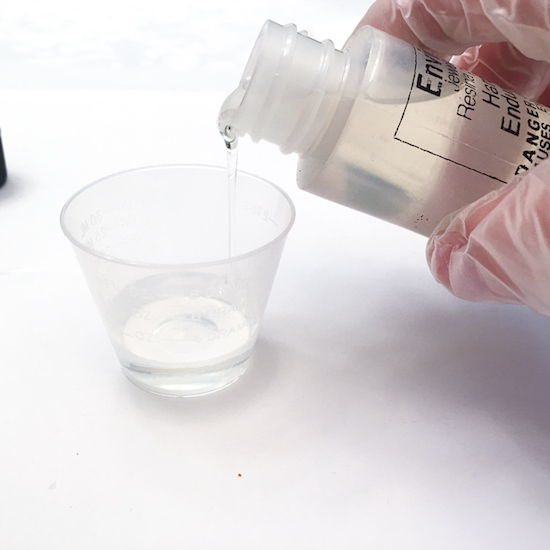
2. Before using the Jewelry resin, it is best to read the instructions given for the best possible results. Using a measuring cup, mix an equal amount of Resin and Hardener. Then, stir the mixture continuously for 2 minutes and scrap the sides of the container.
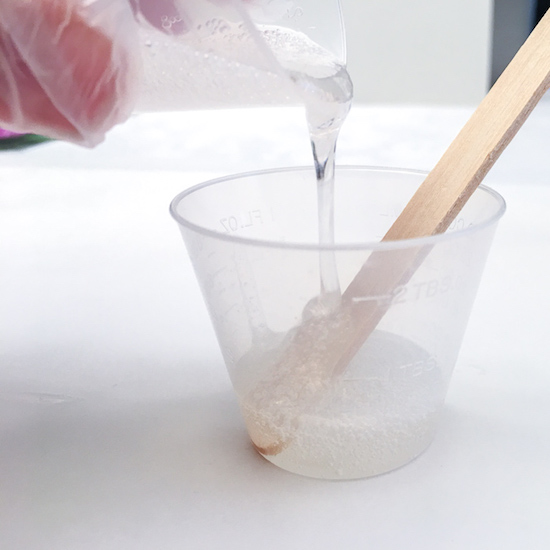
3. Then pour the mixture into a second cup. Stir and scrap with an ice cream stick for another minute.
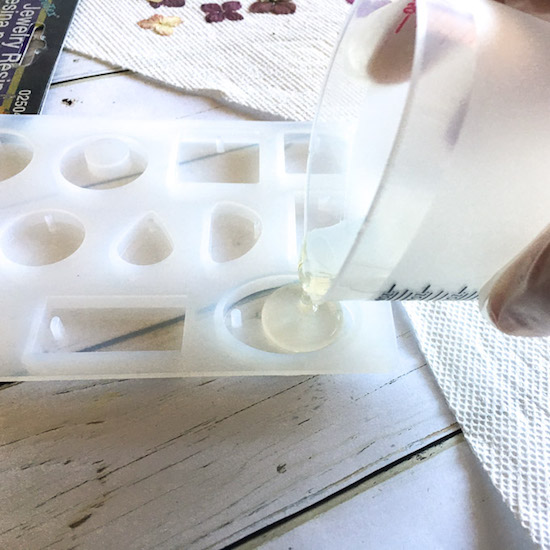
4. Once it's done, carefully pour the mixture into the moulds.
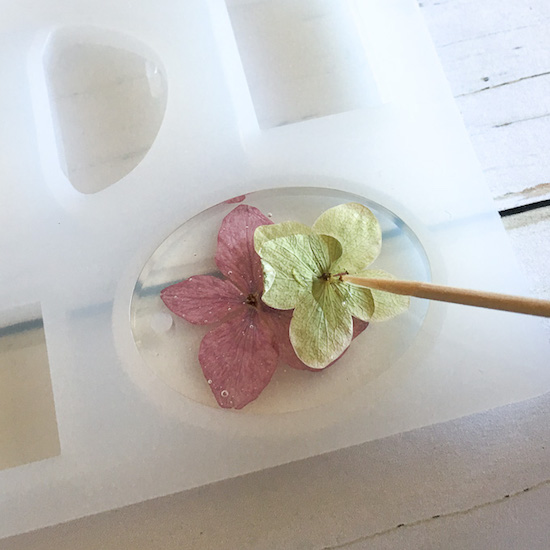
5. Then, place the hydrangea onto the resin. If there is any bubbles on the base, remove it with a toothpick.
6. Cover the moulds to prevent any dust from settling in. Check on it after about 25 minutes and pop out any bubbles that have floated to the surface. If necessary, repeat this step after every 15 minutes. Cover and leave it overnight until it hardens completely.
7. After removing the jewelry from the mould, add the jewelry bail on top of each of the pendant. And add the chain of your preference as necklace or keychain.
3. Pressed Flower Frames

Source: Lilyador
If you have received flowers and wished you could just stop the moments and make sure your flowers don't wilt away. Well, now you can do that! Those flowers can be kept and framed as memories. No longer a waste!
So first, get your favourite flowers, buy them or if you have received any make use of those flowers! Get a variety of colours of flowers, bright and vivid is recommended as it would really stand out and gives a pop of colours on the wall (you would understand as you see the end product of this art). If you wish to let it dry naturally, it would work too but it would take approximately 3 weeks. If you wish to speed up this process without having the colours to fade, read to find out the little tricks and technique!
TIPS: Try to get think flowers. Flowers thicker than 1/2" would not turn out as nice.
Materials you need:
- Dollar store frames with size 8"x10" / 5"x7" (you will need two of the same size because you will need two pieces of glass)
- 2 fire bricks (you may use one instead of two if you are using a microwave tray.
(CAUTION: It is said that if the bricks are not completely dry before heating, it might blow up)
- cotton fabric (can be substituted with paper towel) (TIPS: avoid polyester fabric because it might melt)
- flowers
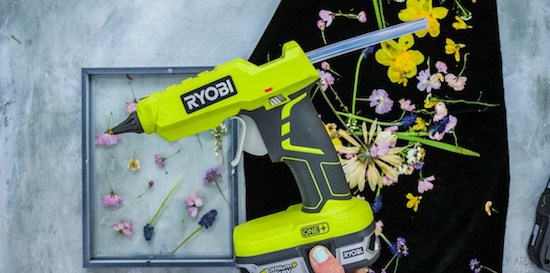
- hot glue
Steps:
1. Place one brick on a flat surface. Then lay a cotton fabric on it. Lay your flowers onto the fabric, lay another layer of fabric and top it off with a brick.
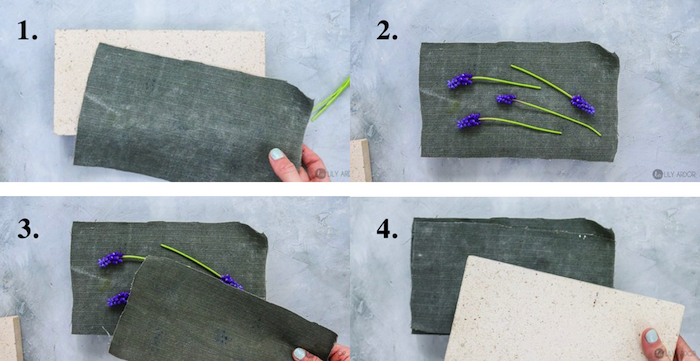
2. Put them into the oven to microwave it.
(TIPS: once you have placed the top brick, do not put extra pressure on it as it will break the flowers)
3. Heat them in the microwave about 1-3 minutes depending on the size of the flowers. For smaller ones about 1 minute while the bigger ones will take up to about 3 minutes.
(TIPS: For any flowers, you would need to microwave for about 30 sec without the top brick to completely remove its moisture. For white flowers, they burn at a faster rate. So it is advisable to check on it every 30 seconds until it is good)
4. Then you may start placing and arranging your flowers on the glass frames.

5. Once you are done, place the other piece of glass on it and hot glue it.
(TIPS: To ensure the flowers are in place and not move around, you may use something heavy like bricks (not too heavy that it'll break the glass) but if you want your flowers to move between the glass, use something light like phone)
6. Allow the hot glue to dry up and that's it!

You can place it against the wall or the window. I love how the transparency effect when hanging against the window as it makes the colours of the flowers stand out more. Not only that, you will be able to see the details in action, with all the veins of the flowers as you have a close look into the masterpiece frames.
4. Pressed Flower Wax Paper Lantern
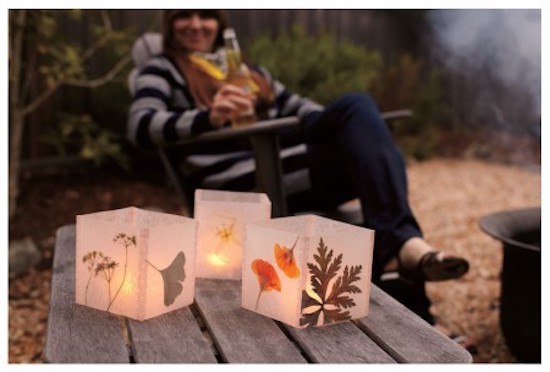
Source: A Practical Wedding
Wanna level up your lantern game. This is the one for you! The pressed flower shapes blend in perfectly well with the wax paper, setting the right atmosphere and mood as the light from the candle beams through the wax paper. Whether for BBQ, birthday parties or festive parties. Light this up and be ready to wow any guest of yours.
Materials you need:
- Flowers and greenery
- Heavy book
- Paper towels
- Waxed paper
- Ruler
- Craft knife
- Cutting board or self-healing cutting mat
- Iron
- Ironing board or cloth for pressing
- Washi tape
Steps:
1. Press your flowers and greenery by placing them in between two paper towels in a book.
TIPS: Thin and delicate leaves will dry faster compared to thicker ones.
2. Measure and cut your wax paper. You may cut into your preferred shapes. For this, we have them in cubes. For cube, measure a 4.5"x9". We want the length to be one time longer as you would need to fold the wax paper into half.
3. Once you have cut four pieces of wax paper with the aforementioned measurement, fold them into half. Sandwich a flower or greenery in between the wax paper.

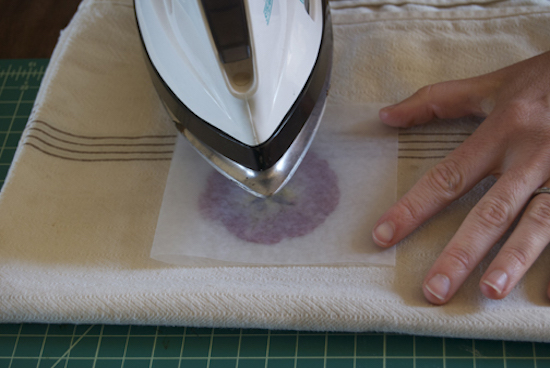
4. Then, iron the wax paper on an iron board or on a cloth with medium heat to seal it. It will fuse the piece into one. Repeat this step for the rest of the pieces.
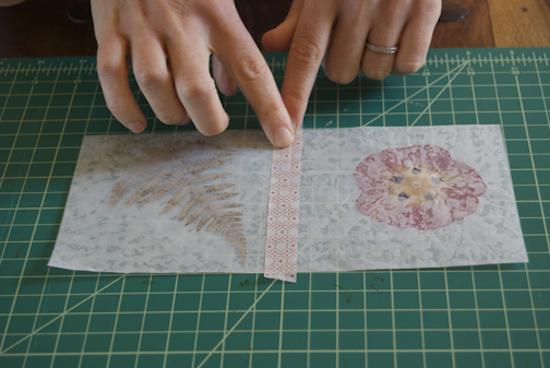
5. This step is where you assemble the wax papers to form a lantern. So, start by placing two pieces flat with the right surface facing down. Cut a strip of washi tape with an inch longer and seal both pieces together at the centre.
6. Then flip one piece over to form a sharp crease. Do likewise for the rest of the 2 pieces until you form a cube.
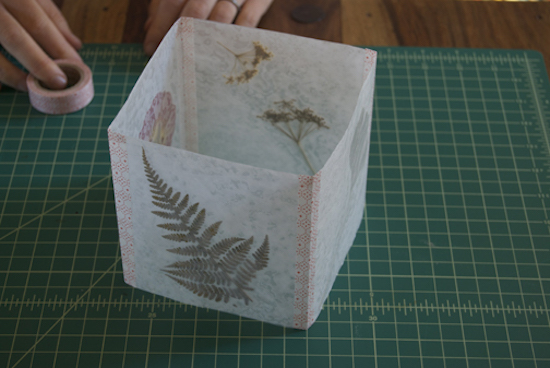
7. Let it stand. Set a candle or a LED light inside the luminaria and enjoy!
5. Cacti and Dried Flowers Christmas Ornaments
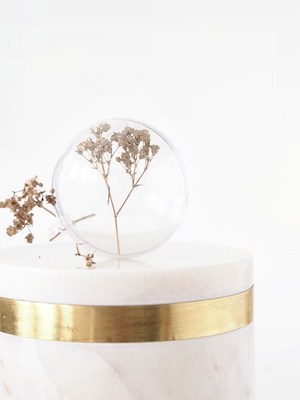
Source: Eclectic Trends
Since Christmas is soon so let us add some fun to it this year! All those shimmering ornaments days are long gone, level up with these a little rustic and vintage look of ornaments filled with dried flowers. Even if it is not Christmas season, they look great as any home decor. Hang them around or simply place them on your coffee table or shelves for a unique touch.
Materials you need:
- clear bubbles
- cacti cut or dried flowers
- knife
- chopstick to handle the cactus
Steps:
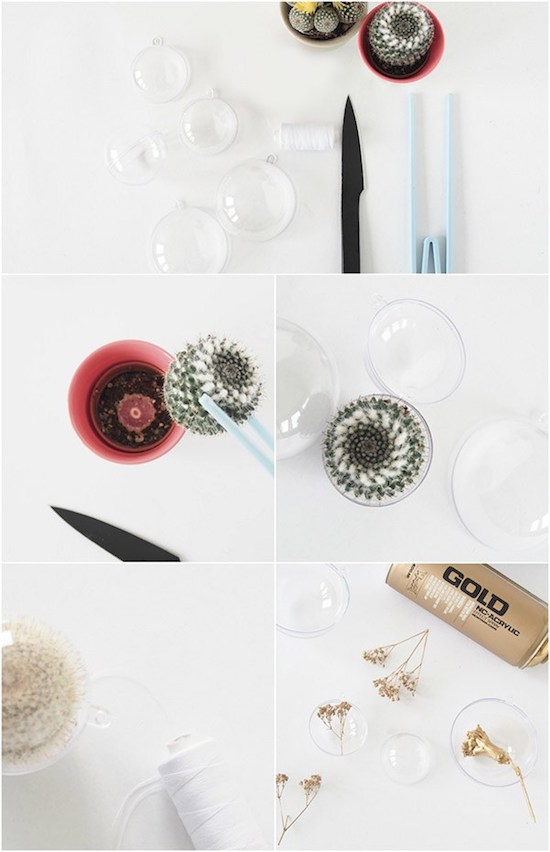
For cactus
1. Cut the cactus from the root with scissors. Be careful with the spiky cactus.
2. Then place the cactus cut into the clear bubble and encapsulate. Before this, make sure that the cacti cut is completely dry to prevent the growth of mold.
3. If you do not like the idea of cutting the cactus from its roots, you may use dried flowers or twigs instead. Give the flowers a little golden spray for some extra glam.
4. Thread a string through the hole and your cool ornaments are ready for display!