The Beginners Guide To Taking Product Photos with Smartphone
 Posted by Shu Wen
Friday 2 Feb 2018
Posted by Shu Wen
Friday 2 Feb 2018
Share
Online selling is all about pictures, we know it. Getting the photos right and looking good now can be done with a smartphone!
With a smartphone, you can save up from spending on a DSLR camera, not only the money but also the time in learning all the manual feature in there. With a smartphone, it is so light and portable which you can carry and take your pictures at anywhere and at anytime.
Sounds good?
Check out the simple guide below to see how you can nail the pictures with a snap using a smartphone. Once you get a hang of it, you will discover how they can create wonders.
1 | Lighting
Lighting is the upmost importance in photography. Because the word photo itself means light. You see?
There are two sources of light we can obtain from which are natural and artificial light.
Natural light is basically the light from the sun. The optimum sunlight we should get is a soft and indirect sunlight.
When you shoot indoors at your home, the first thing is to check out the time of the day that gives you the best lighting, at which part of the house. The most go-to option would be the natural window light as it helps to save you cost and time in setting up those equipments. Different intensity of light will give you a different result.
Just like the photos below, they are taken at different spots in the house. The photo taken at the east window has blue shade effect while the light is more intense and warm at the west window.

Source: Handmadeology
Direct harsh sunlight is something we want to avoid as it will result in overexposed and unflattering effect as shown below. Diffuse lighting can be obtained with several tools. Read on to find out.
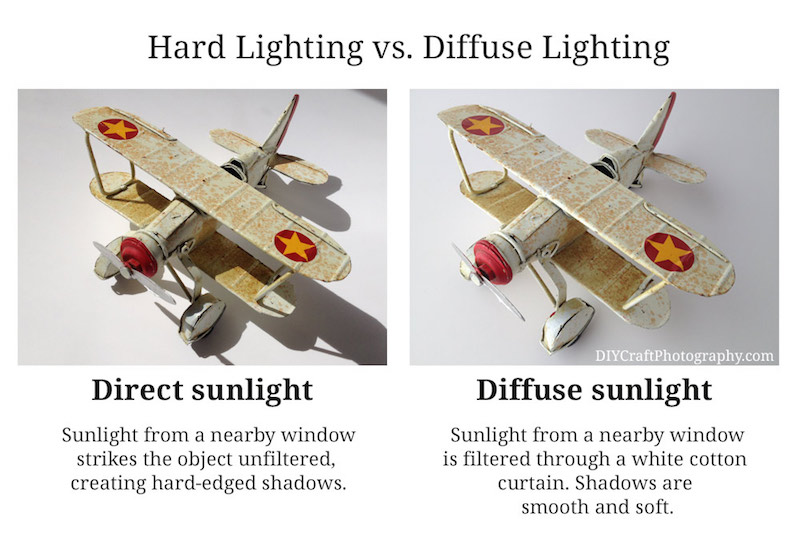
Source: Diycraftphotography
Natural light is an easier option to start with for beginners. Once you got the right light at a specified time, be consistent with it and take all the photos at that particular time.
The second option is artificial lighting. This would be a better option when the days get gloomy and to have a better control of the lighting. There are many DIY ways to create your own photo light box for smaller product items. Really simple and low cost that you can try.
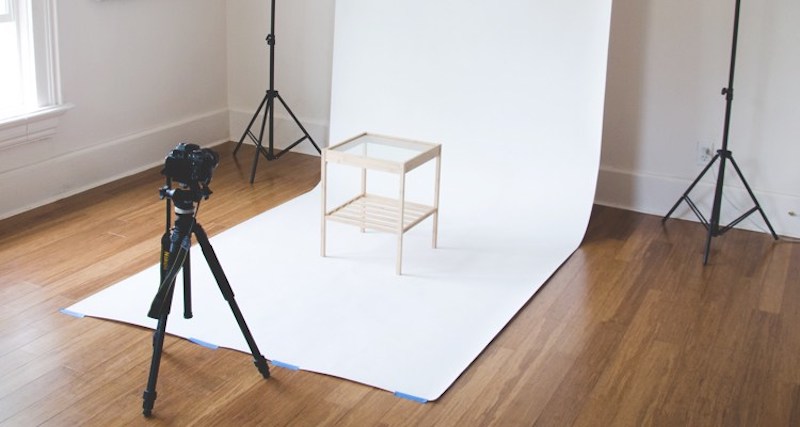
2 | Background
Next, once you have a great lighting, prepare the type of background you would want to use. The most common background is white. Clean and simple. It is easier to edit and remove background as well.
Depending on your product size, the set up shown below are pretty simple and cost-effective. Even simpler, you can snap with a plain white wall at home.
Source: Big Commerce
Source: Big Commerce
The best is to have it plain to prevent any clutter that would cause distractions whenever the buyer sees it. By having a plain background, this would directly give the focus to the object or product, which is what we wanted.
However, you may also use other types of textures of backgrounds especially when you use different types of techniques like flat lay. Often we see flat lay photographs uses backgrounds like marble, wood, or even fur. Creating a different kind of effect and textures.
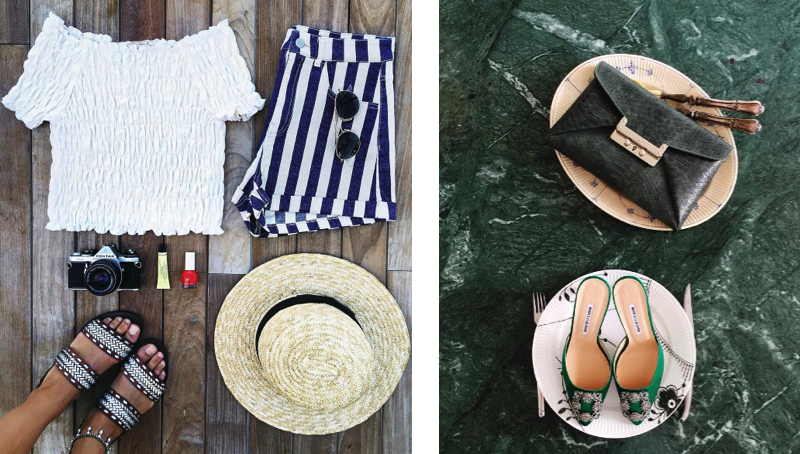
Source: Refinery 29
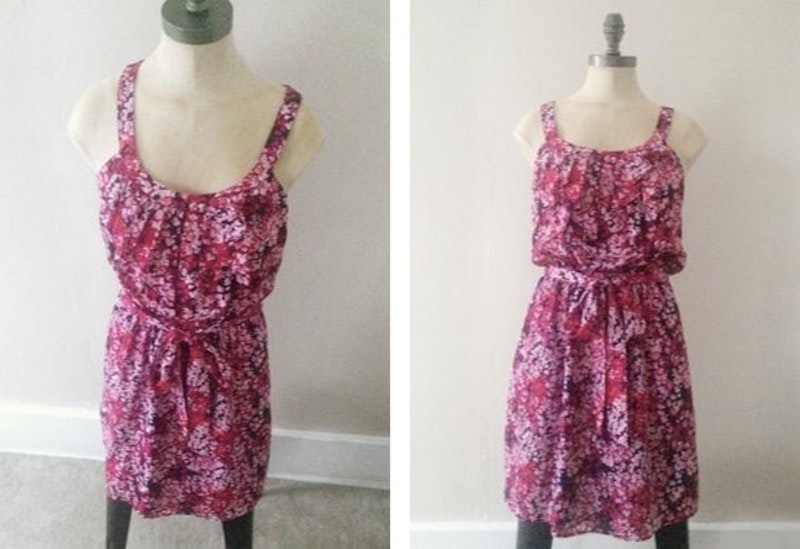
If your products are mainly clothing, there are several ways to present your product, either using flat lay, mannequin or a model. See which technique displays your product the best!
3 | Smartphone Camera
Once you have got the lighting and background covered, you are ready to snap the products with your smartphone. Ensure that your smartphone's camera mega pixels are high enough (at least 12 mega-pixels) to obtain sharp and quality images.
Clean your phone camera lens and product to ensure a a clear photo taken and the product is at its best presentation (wrinkle-free and no damages).
Shoot the images in a consistent angle and have it straight as straight angle gives the perfect display result of the product. You might be interested in different product photography ideas here.
Source: Pixelz
There are simple features on the phone you can play with like portrait mode, brightness and exposure to enhance your photos.
But do keep in mind not to over-edit them that causes a misleading of product in the pictures.
4 | Additional Tools You Can Invest In
a) Tripod
You can also invest in a smartphone tripod to ensure a steady shot. Sometimes it may cause blurry images when taken with your hands.
b) Macro Lenses
Of course, with smartphone there are certain limitations to it. Smartphones can only focus to a certain distant that is why macro lenses are something you should invest in especially you want to take the product in detail.
c) DIY Ways for Diffused Lighting
As aforementioned, direct sunlight is something we would want to avoid. There are simple DIY ways that we can do to diffuse the intensed light.
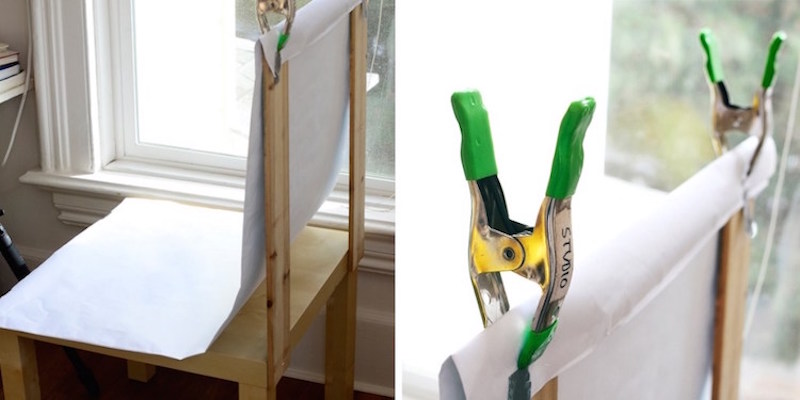
- Hang a white curtain across the window
5 | Editing Apps
The last step in getting your images ready is editing and enhancing. There are many mobile apps for photo editing but these are the few ones we recommend (they are FREE). There is no need for fancy editing, just a little touch-up, mostly on adjusting the brightness, size, sharpness and hue.
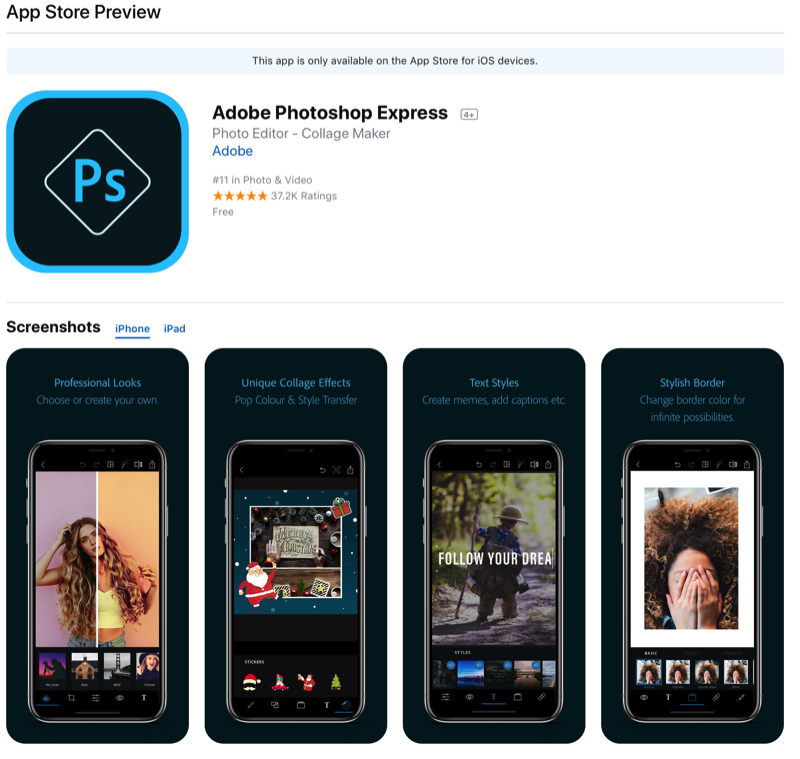
I'm pretty sure you are familiar with Adobe Photoshop. This app gets pretty good reviews with its robust features from collaging, effects and frames. Just import your photos from your smartphone, get them edited and save it right away!
b) VSCO Cam

VSCO, an all-time favourite and highly recommended for anyone who takes pictures as noted by the users. The minimal UI creates a professional look that attracts attention at first sight. The bonus of this app is where it allows you to share and connect with your community, saving photos that inspire you (basically like a combo of Instagram and Pinterest).
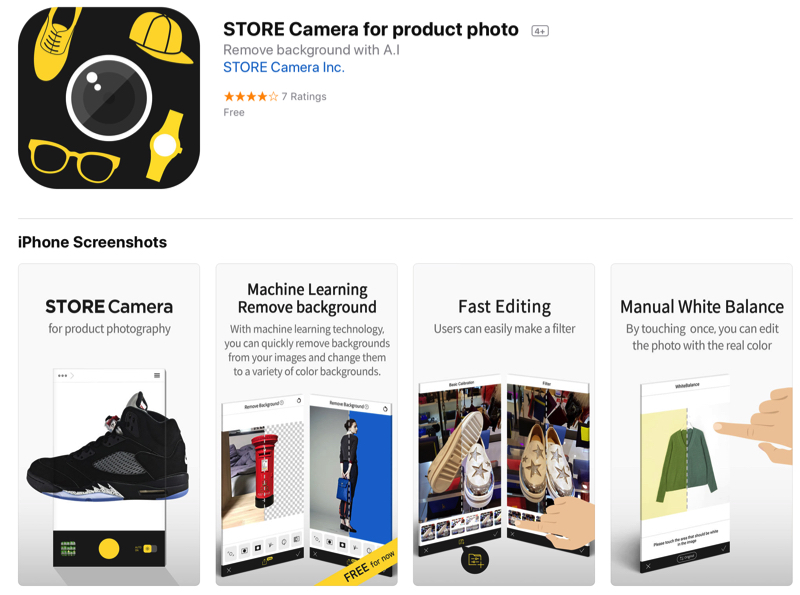
This app will come in handy when you wanna remove the background. Enjoy this feature while it is still free. It also allows you to create and save your favourite filters to keep your photos colour consistent. STORE Camera has other fascinating features that make editing simple with a touch. Check this app out!